Thursday, August 21, 2014

Online Card Classes - Stretch Your Stamps 2, Bonus Day!

I don't have any watercolor materials so I struggled to find something to do to participate in Bonus Day.  I finally came up with paper piecing.  I only pieced on part of the stamp, but I think it looks adorable!  I used the My Favorite Things Wednesday Sketch as inspiration for the layout.

Print

MFTWSC190

I used My Favorite Things Mouse in the House, It's Your Birthday Stamp and Lawn Fawn's Let's Polka paper for the mouse's shirt and the background.  I think it turned out super cute!


I am also entering this into the Simon Says Stamp Monday Challenge - Anything Goes!

Simon Monday Challenge Blog

Tuesday, August 19, 2014

Online Card Classes - Stretch Your Stamps 2, Day 11 Play Day

I used Jennifer McGuire's idea of two layer embossing to create my card.  I first die cut three butterflies out of white cardstock using my Paper Smooches Butterflies dies that coordinates with their Flap Happy Stamp set.  I then laid white cardstock with the negative butterfly cuts over some black paper to help me line up my stamps.  I used the small solid butterfly from the Paper Smooches Flap Happy set first, stamping in the center of the negative die cut with Versamark Ink and heat embossed with white embossing powder.  Then I stamped the outline butterflies in Versamark Ink over the small white butterfly in the corresponding die cut negative.  I heat embossed the outline butterflies in Ranger silver embossing powder.  Next I added hearts from various Paper Smooches stamps and the smooches sentiment from Paper Smooches Scripty Sayings.  I heat embossed each of these with Ranger red embossing powder. I added little trails to two of the butterflies with Memento London Fog ink.  Finally I mounted the white cardstock over the black paper with mounting tape.  It would make an excellent Valentine's Day card, though that was not my intention when I started.


I am entering this card into the Paper Smooches Anything Goes Challenge.


Simon Monday Challenge Blog


Saturday, August 16, 2014

Online Card Classes - Stretch Your Stamps 2, Day 9 - Floral and Floral Builder Stamps

I don't really have the same style floral builder stamps as were used in Day 9's class, my floral builder stamps are really more for coloring than just straight up stamping.  I found a few stamps in my set that worked well with the Create a Window Hello Wreath by Julie Ebersole inspiration.

I used Lawn Fawn's Blissful Botanicals and Petite Florals to create my window.  I didn't think I would be brave enough to alter sentiments as suggested by Jennifer Rzasa on Day 3, but I felt like the Love You portion of Lawn Fawn's Love You Tons sentiment would work well in the window I created.  I bravely cut my stamp and I am pleased with how it turned out.  I added some twine and a button to finish off the card.


Online Card Classes - Stretch Your Stamps 2, Day 6 - Outline Stamps

I really wanted to try the No Line Coloring technique shown in Melinia Deasy's Thank You card.

I'm not sure whose stamp I used, it's a wooden stamp I found in my drawer.  I think it came from Joann Fabric and Craft.  I white heat embossed the hello sentiment.  I'm not sure this stamp worked as well as I had hoped for the No Line Coloring technique.  I think maybe lighter colors might have helped.


Online Card Classes - Stretch Your Stamp 2, Day 3 - Alphabet and Sentiment Stamps

I wanted to make something sweet for my mom because she was having a rough couple of weeks.  I combined ideas from Jule Ebersole's Amazing card and Stephanie Klauck's You Make Life Amazing cards from Day 3.

I used sentiments from Technique Tuesday's Incredible stamp set, Paper Smooches Streamers stamp and die cut, WOW white pear embossing powder for awesome sentiment, liquid pearls, and the paper is from Lawn Fawn.  I don't really like how the liquid pearls came out, but I didn't have any sequins yet.  I finally got some and can't wait to use them.


Online Card Classes - Day 7 Graphic Stamps

I was inspired by the ombre effect in a shape on the Smile card by Laura Bassen.  I used the thanks sentiment from Paper Smooches Scripty Sayings to create a circle with an ombre effect using Memento Dew Drops.  I think it came out pretty cute!


I am entering this into the A Blog Named Hero Challenge #50 Ombre.

Wednesday, August 13, 2014

Online Card Classes - Day 8 Graphic Stamps

I've been really busy lately with some family stuff and visiting friends in Charleston. I finally had time to watch more videos in the Stretch Your Stamps 2 class from Online Card Classes.  I was inspired by the Ombre Repeat Stamping Love You card by Kristina Werner.

Using Paper Smooches Borderlicious chevron like stamp, I created an ombre like background using Memento Dew Drops (rose bud, angel pink, lulu lavender, grape jelly, danube blue, summer sky, bamboo leaves, new sprout, dandelion, cantaloupe, and tangelo).  I stamped the Borderlicious stamp in reverse directions for each color.  I used the Paper Smooches Scripty Saying hello stamp to add a greeting.  I heat embossed the hello stamp with silver Ranger embossing powder.  I also used the silver embossing powder to mat my flag because I didn't think it stood out enough.  I added a couple of silver embossed details to the background image for a little fun.  It came from the Technique Tuesday Incredible stamp set.


Tuesday, August 5, 2014

OCC Stretch Your Stamps 2 - Backgrounds 2!

I created another card using a reverse background stamp.  I stamped my reverse background stamp, Hero Arts Reverse Constellation Background, in Versamark Ink and then heat embossed it with black embossing powder.  I die cut a star from the center of my image using Lil Inker Designs Stitched Stars.  I then white heat embossed the sentiment on a die cut vellum banner.  I used foam tape to mount the banner across the star.


I am entering this card into the A Blog Named Hero Challenge #49 - Die a Little.


OCC Stretch Your Stamps 2 - Backgrounds!

I am currently participating in the Online Card Classes, Stretch Your Stamps 2.  The first two days have been about backgrounds.  Unfortunately a lot of the background technique require water coloring or other supplies that I don't have.  However, I did the best I could with the materials that I had on hand.  I will probably be investing in some water colors and paper soon.

My first card uses the Heartfelt Creations Sun Kissed Cling Stamp Fleur Background.  I stamped it with Versamark Ink on white cardstock and then heat embossed the stamp with white embossing powder.  As I didn't have any water colors, I used Copic Markers to color the background.  I cut the image down to fit on an A2 card and cut out a portion of the image to leave room for a sentiment.  I chose the miss you sentiment from Paper Smooches Scripty Sayings and heat embossed with black embossing powder.  I used foam squares to mount the background image on my white card.


It's hard to see in the photo, but I did heat emboss the background stamp with white embossing powder.

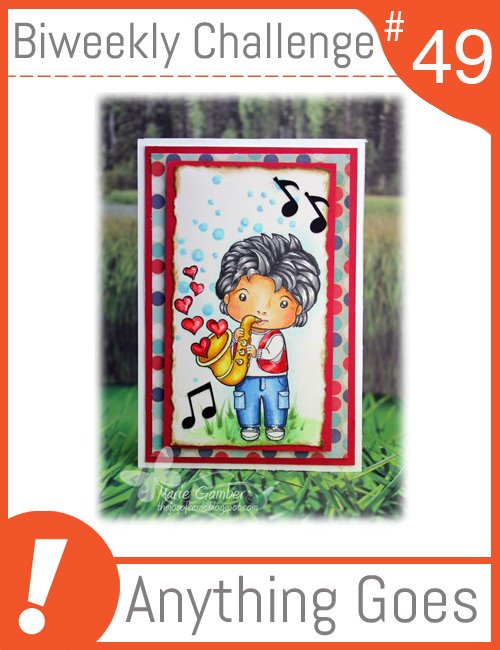
I am entering this card in the MarkerPOP! Challenge #49 - Anything Goes.

Challenge #49